How to Develop Your Own Film: A Beginner's Guide
- Author Michael Elliott
- Published November 4, 2023
- Word count 1,709

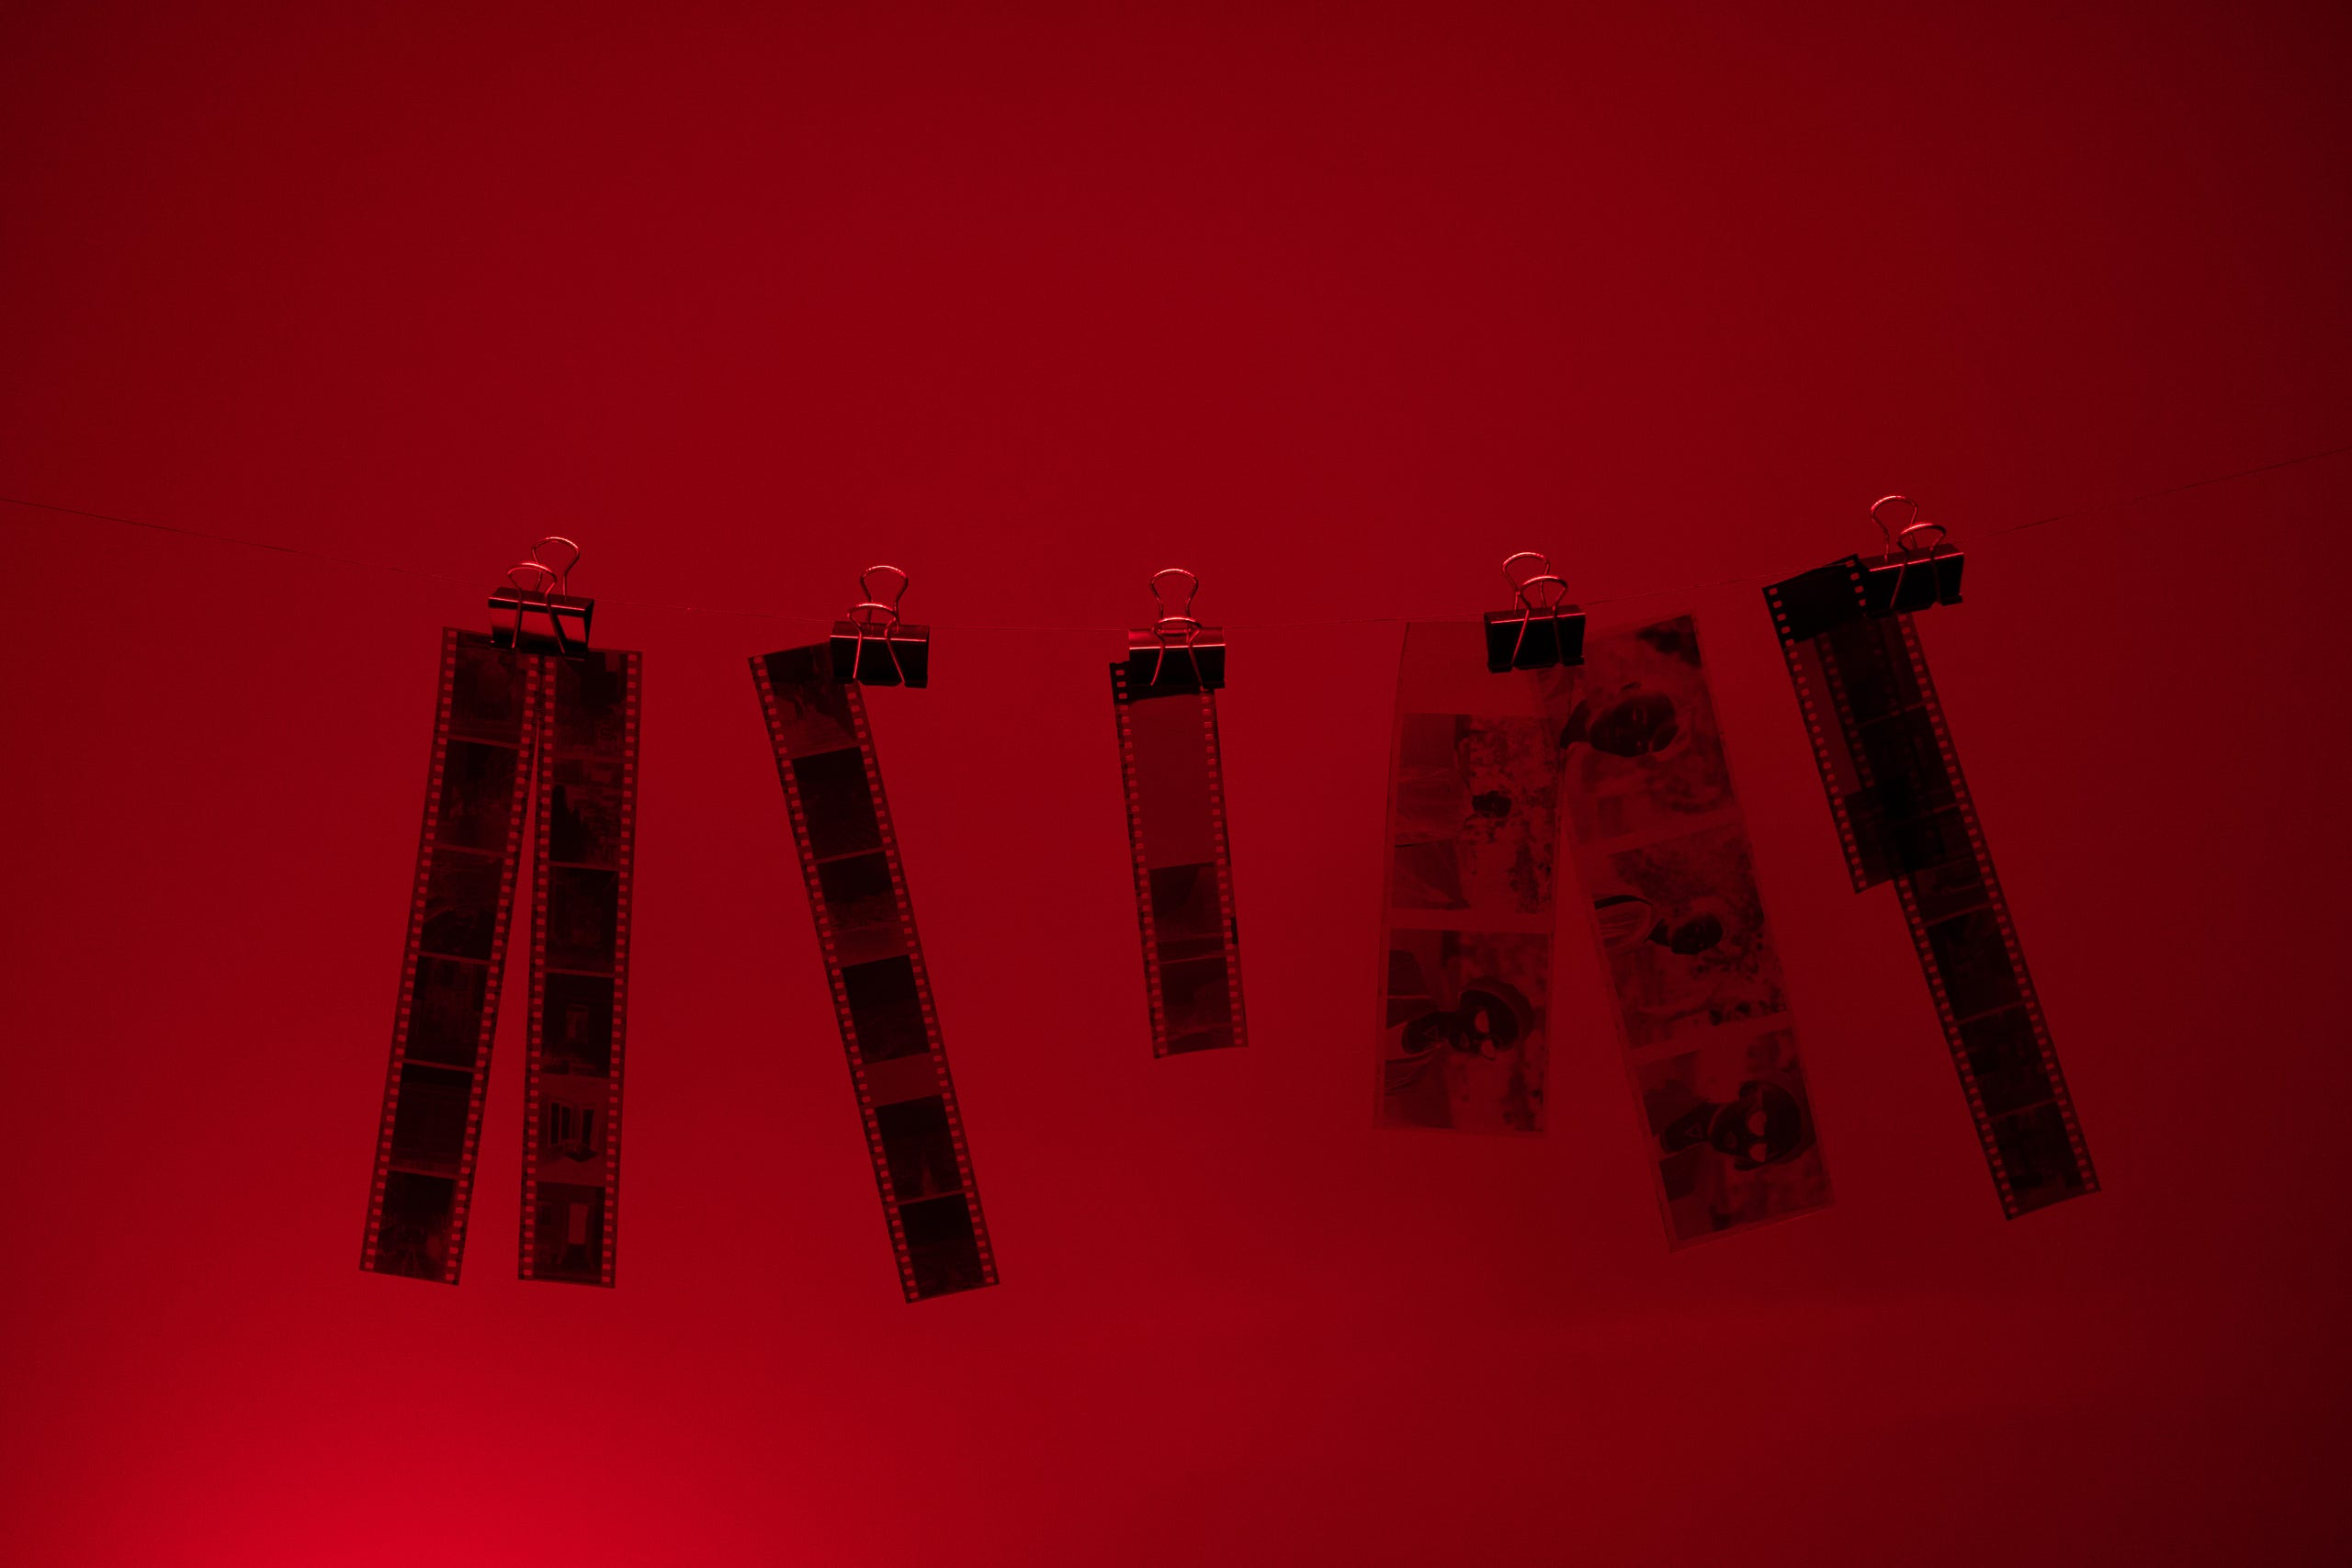
Photo by Ron Lach
How to Develop Your Own Film
A Beginner's Guide
Michael Elliott --- Fine Art Film Photographer-Flâneur and Londoner at Large
If you are a film photography enthusiast, you might have wondered if you can develop your own film at home. The answer is yes, and it can be a rewarding and cost-effective way to enjoy your hobby. On my website, I've published a how-to guide for developing black and white film, and in this article, we will go through the basics of film developing, what you need to get started, and how to do it step by step in detail.
Developing your own film allows you to be in control of the whole process, including being able to selectively choose certain effects like push or pull processing, cross-processing, as well as making your own developer, and allowing you to choose how to expose your film.
Film Developing: What's It All About?
Film developing is the process of transforming the latent image on your exposed film into a visible image that can be scanned or printed. Film developing involves using specific chemicals, reacting them with the silver halide crystals in the film emulsion, which record the light that passes through your camera lens.
There are different types of film that require different developing methods and chemicals. The most common ones are black and white negative film, colour negative film, and slide film. In this article, we will focus on 35mm black and white negative film, which is the easiest and cheapest to develop at home.
More theory articles:
Discover a Kaleidoscope of Colours and Contrast: The Art of Cross Processing Film
How to Push and Pull Film for Creative Effects
The "Correct" Exposure of Film
What Do You Need to Develop Your Own Film?
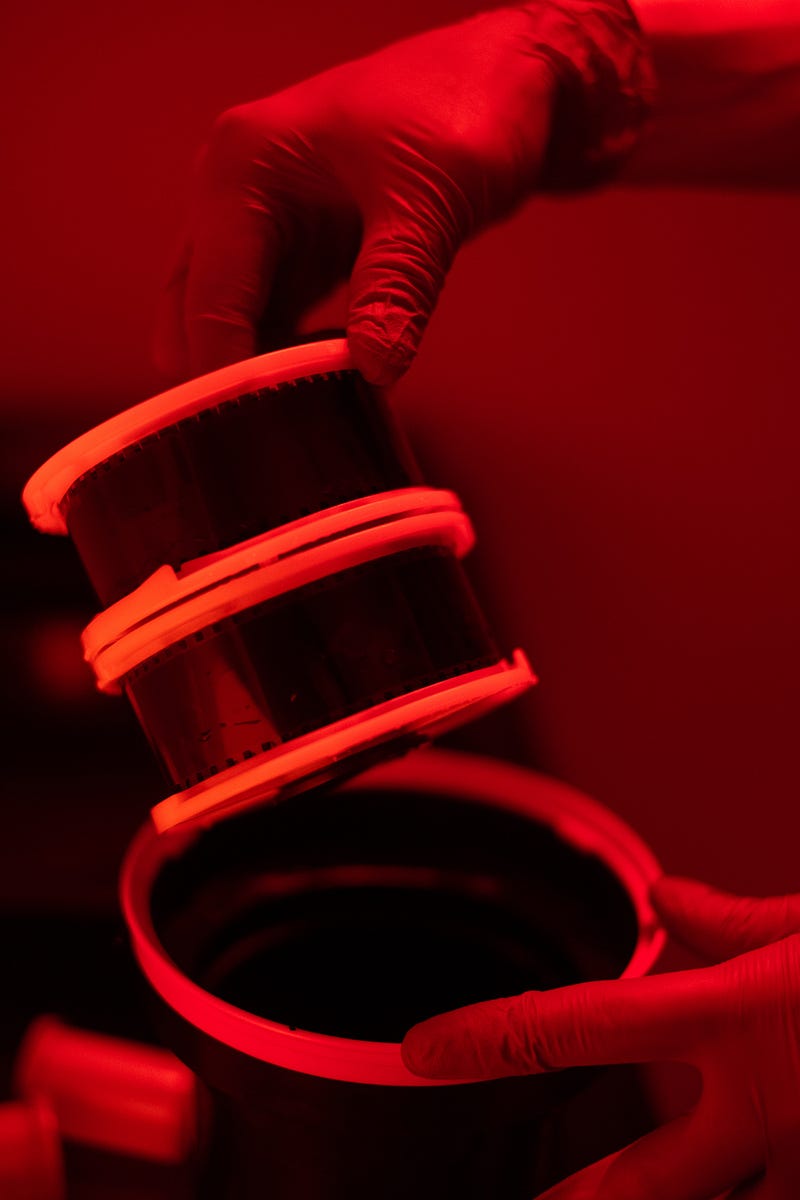
Photo by Ron Lach
To develop your own film at home, you will need some basic equipment and chemicals:
-
Chemicals: These are the substances that react with your film to produce the image. For black and white film, you will need four main chemicals: developer (for instance, Kodak HC-110, Ilford Ilfotol, D19, D23 and so on), stop bath, fixer and photo flo, which helps prevent water spots and speed up drying. Some people opt to use a running water bath in place of the stop bath.
-
Developing tank: This is a light-tight container that holds your film and chemicals during the developing process. You will usually need to purchase reels --- which you load your film onto in the dark --- alongside the tank, although some kits may come with reels included.
-
Changing bag: This is a light-proof bag that allows you to transfer your film from the cassette to the tank without exposing it to light. An alternative to a changing bag is to find a room in your home that has no windows and block all the light coming in through the door.
-
Film cassette opener: This is a tool that helps you open the 35mm film cassette and retrieve the film inside.
-
Thermometer: This is used to measure the temperature of your chemicals, which affects the developing time and results.
-
Measuring containers: These are used to measure and mix your chemicals according to the instructions. Usually a plastic jug will be sufficient to mix up your developer, and another to mix the fixer up.
-
Storage bottles: These are used to store your mixed chemicals for future use. Amber bottles for unused concentrates (well labelled) and accordion bottles for mixed up solutions are the typical choice.
-
Film clips: These are used to hang your film to dry after developing. They also prevent excessive curling.
You can buy most of these items separately or as part of a kit from online or local photography stores. For example, you can check out the Film Developing Starter Kit from Paterson.
If you're enjoying this, please do consider subscribing to my weekly newsletter. It has lots more blog articles, photo features and more.
How Much Does It Cost to Develop Your Own Film?
The cost of developing your own film depends on several factors, such as the equipment and chemicals you buy, how often you use them, and how many rolls of film you develop. However, generally speaking, developing your own film can be much cheaper than sending it to a lab.
The average cost of developing one roll of black and white film at home is between 50p and £1, depending on the type and brand of chemicals you use. In comparison, the average cost of developing one roll of black and white film at a lab is around £10.
Of course, there are some initial costs involved in buying the equipment and chemicals, which can range from £500 to £150 depending on the quality and quantity. However, these costs can be quickly recovered if you develop multiple rolls of film regularly.
How to Develop Your Own Film at Home: Step by Step
Now that you have everything you need, let's get started with developing your own film at home. Here are the basic steps:
-
Prepare your workspace. Find a place where you have access to running water, such as your kitchen or bathroom sink. Cover your work surface with something protective, such as newspaper or plastic sheeting, to avoid staining or damaging it with chemicals. Gather all your equipment and chemicals nearby and make sure they are clean and ready to use.
-
Prepare your chemicals. Follow the instructions on the packaging of your chemicals to mix them with water in the right proportions and temperatures. Use your measuring containers and thermometer to ensure accuracy. Label your storage bottles with the name and date of the chemicals and store them in a cool and dark place when not in use.
-
Load your film into the tank. This is the most challenging part of the process, as you have to do it in complete darkness to avoid exposing your film to light. You can use a changing bag or a dark room for this purpose. First, use your film cassette opener to open the 35mm film cassette and pull out the leader of the film. Trim the leader to a straight edge. Then, insert the leader into one of the reels and wind it until all the film is on the reel. Make sure there are no kinks or overlaps in the film. Cut the film off the cassette. Slide the reel onto the spindle that comes with the tank, then repeat this for another roll of film if you have a two-reel tank. Finally, close the lid of the tank securely and turn on the lights.
-
Develop your film. This is where the magic happens. Pour the developer into the tank and start a timer according to the instructions for your film and developer. You can use a resource like the Massive Dev Chart to establish baseline times from which you can experiment. Agitate the tank gently by inverting it or rotating it --- the agitation pattern you use will depend on where you look, but common ones are: first 30 seconds, then 5 seconds every 30s thereafter; or first 60 seconds, then 10 seconds every minute. Agitation ensures even development of the film. When the time is up, pour out the developer.
-
Stop the development. Pour the stop bath into the tank and agitate it for 30 seconds. This stops the action of the developer and prevents overdevelopment of the film. Pour out the stop bath. Alternatively, use running water at the same temperature (+/- 3C) for 1 minute to stop the development.
-
Fix your film. Pour the fixer into the tank and agitate it for 30 seconds, then 5 seconds every minute thereafter. This removes the unexposed silver halide crystals from the film and makes it permanent and light-safe. The fixing time depends on your fixer, but it usually takes around 3--5 minutes. Pour out the fixer.
-
Wash your film. There are again different methods: either under running water for 6 minutes 30 seconds (for neutral or alkaline fixer) or 15--20 minutes for acidic (rapid) fixer. Alternatively, the Ilford wash method is to: fill the tank, invert 5 times, pour out the water, fill the tank, invert 10 times, pour out the water, fill the tank, invert 20 times, pour out the water. This removes any residual chemicals from the film and prevents staining or fading.
-
Final rinse. Fill the tank one more time and add a couple of drops of photo flo to reduce water spots and speed up drying.
-
Dry your film. Open the tank and carefully remove your film from the reels. Use a soft cloth or your (gloved) fingers to wipe off any excess water from the film. Then, use your film clips to hang your film in a dust-free place to dry completely, which can take several hours or overnight.
-
Scan or print your film. Once your film is dry, you can scan it using a dedicated film scanner or a flatbed scanner with a transparency adapter, or you can print it using an enlarger and photographic paper in a darkroom.
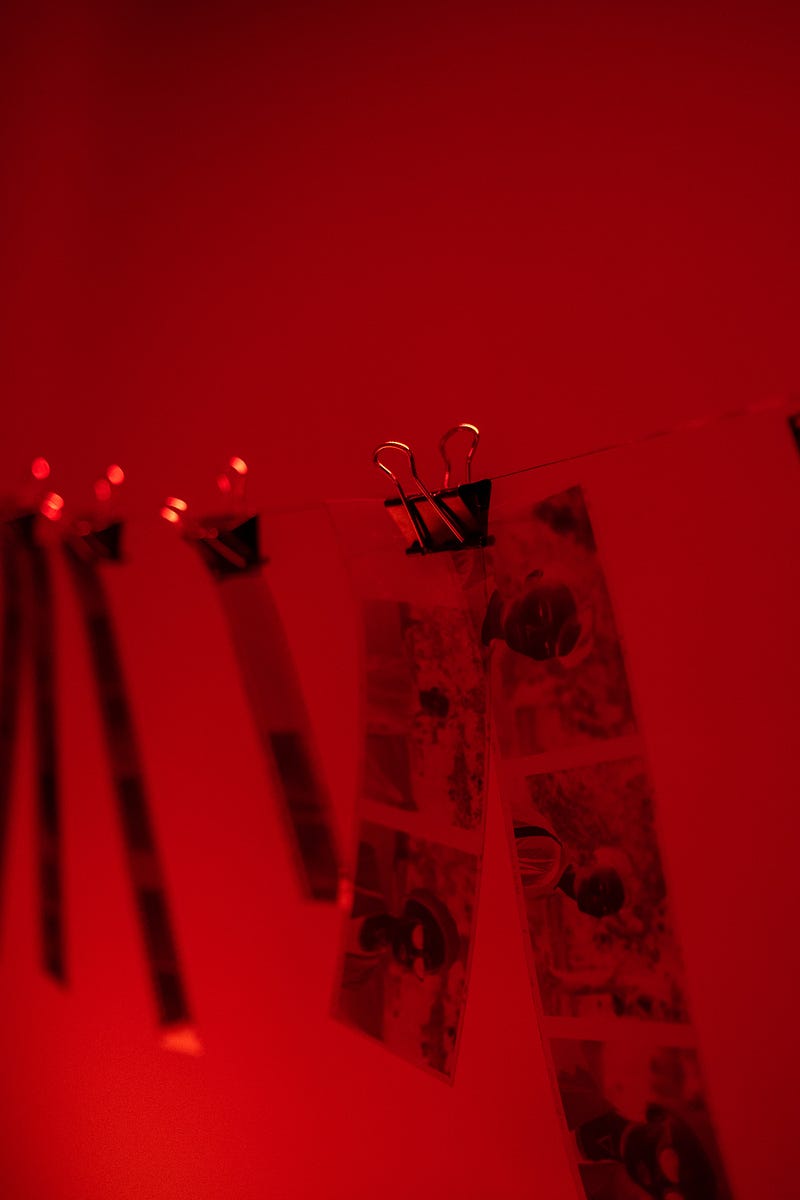
Photo by Ron Lach
Congratulations, you have successfully developed your own film at home! You can now enjoy your photos and share them with others.
You can find my various portfolio and social locations at Linktree. If you enjoyed this, please do consider subscribing to my weekly newsletter. It has lots more blog articles, photo features and more.
Article source: https://articlebiz.comRate article
Article comments
There are no posted comments.
Related articles
- Mindfulness: Living in Harmony with the Elements
- Lash Extension Aftercare Starts With Proper Removal
- How Lash Techs Can Make Removal Appointments More Comfortable
- Electric And Hybrid Car Leasing: The Smart Move For 2026
- What Clients Should Know Before a Lash Extension Removal Appointment
- Common Lash Removal Mistakes New Lash Techs Should Avoid
- Lash Remover Cream vs. Liquid Remover: What Lash Techs Should Know
- Common Lash Removal Mistakes New Lash Techs Should Avoid
- Lash Remover Cream vs. Liquid Remover: What Lash Techs Should Know
- Common Eyebrow Tint Mistakes and How to Avoid Them
- Outdoor Makeup Tips for Hot Days: What to Keep Simple Around the Eyes
- How to Choose the Right Brow Tint Shade for a Natural Look
- Best Eye Makeup Ideas for Summer Travel and Weekend Trips
- Magnetic Lashes vs. Strip Lashes: Which Is Easier for Beginners?
- Lotus Carved Decorative Doors
- Where Your Donation Matters Most: Helping the Poor with Medical Care and Animal Welfare in India
- How Sponsoring Elderly Care in India Creates Lasting Social Impact
- Motorcycle Accidents in Hattiesburg: Mississippi's Pure Comparative Fault Advantage and How It Protects Injured Riders
- Dog Bite Injuries in Colorado: How the Strict Liability Statute Works and What Injured Victims Can Recover
- Truck Accident Claims in Green Bay: How Local Industries Shape Liability
- Dog Bites in San Luis Obispo: California's Strict Liability & What It Means for Victims
- How the Region's Paper and Food Processing Industries Shape the Commercial Vehicle Liability Landscape
- Colorado Dog Bite Injury Claims and What the State's Strict Liability Law Means for Victims
- THE QUIET GRANDEUR: VINTAGE CARVED ARMOIRES FROM MOGUL INTERIOR
- Wellness by Design: Nature's Harmony in Carved Wood Doors
- Why People With Diabetes Need to Take Special Care of Their Feet
- Calcaneodynia: Understanding Heel Pain
- Collected & Crafted: A Modern Farmhouse That Tells the World's Most Beautiful Stories
- Why Winter Is Actually the Best Time to Visit Sydney
- Ireland Sino Institute Secures Media Partnership with CCTV+